
Introduced in iOS 16, the Lock Screen Depth Effect is one of the most visually striking features Apple has ever brought to the iPhone. By using on-device machine learning, iOS can isolate the primary subject of a wallpaper and pull it forward, allowing it to slightly overlap the digital clock. However, many users find that the feature frequently refuses to activate when applying custom images. This failure is rarely a bug; it is almost always a failure of the image to meet the strict technical criteria required by Apple’s Neural Engine. To get the Depth Effect to work flawlessly with your own custom wallpapers, you must prepare the image with specific compositional and file-format rules in mind.
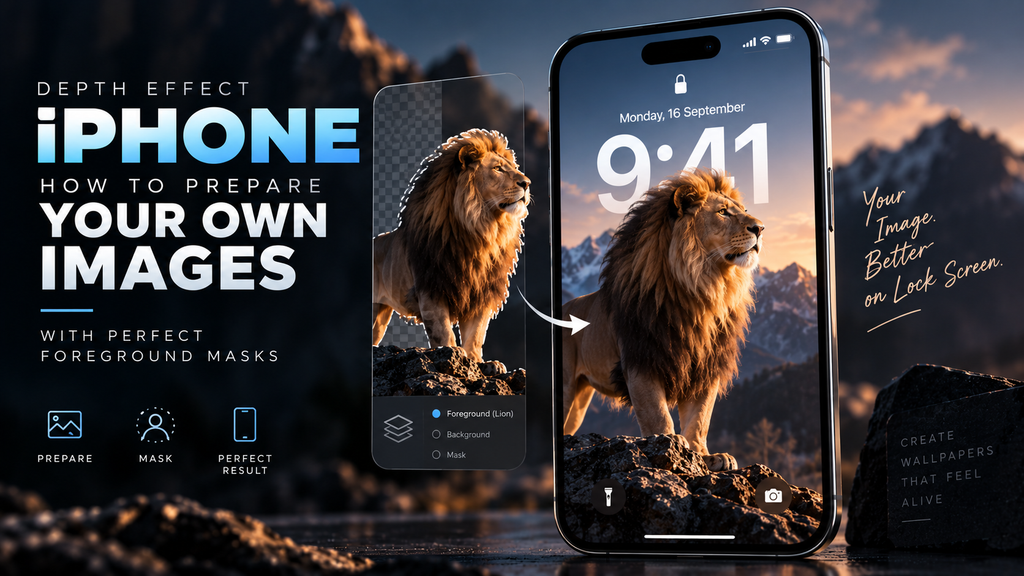
Table of Contents
- The Neural Engine and Subject Segmentation
- The Strict Rules of Composition
- The Format Flaw: Why Compression Ruins the Mask
- Step-by-Step: Preparing Your Image in Editing Software
- Frequently Asked Questions (FAQ)
The Neural Engine and Subject Segmentation
The magic behind the Depth Effect relies entirely on Apple’s A-series chips (specifically the A12 Bionic and newer). When you set a wallpaper, the Neural Engine performs instantaneous “Subject Segmentation.” It analyzes the photo, looking for sharp lines of contrast that define a foreground object (a person, a building, a mountain peak) against a background.
If the image was taken using the iPhone’s “Portrait Mode,” the file already contains a hidden, mathematically precise depth map. The operating system simply reads this map and knows exactly what is in front and what is in back. However, if you are downloading an anime wallpaper or a digital rendering from the internet, there is no depth map. The Neural Engine has to guess based entirely on pixel contrast. If the edge of the subject is blurry, if the colors blend into the background, or if the subject is too complex (like a tree with thousands of tiny leaves), the AI will fail to generate a clean mask, and the Depth Effect will refuse to activate.
The Strict Rules of Composition
Even if your image is perfectly crisp, Apple has hardcoded compositional rules into iOS that will disable the Depth Effect if violated.
First, the “20 Percent Rule.” The subject of your wallpaper cannot obscure more than roughly 20% to 30% of the clock face. If the AI determines that the user will not be able to comfortably read the time, it will automatically push the subject behind the clock. When positioning your image, you must pinch and zoom so that only the very top edge of the subject overlaps the bottom rim of the clock numbers.
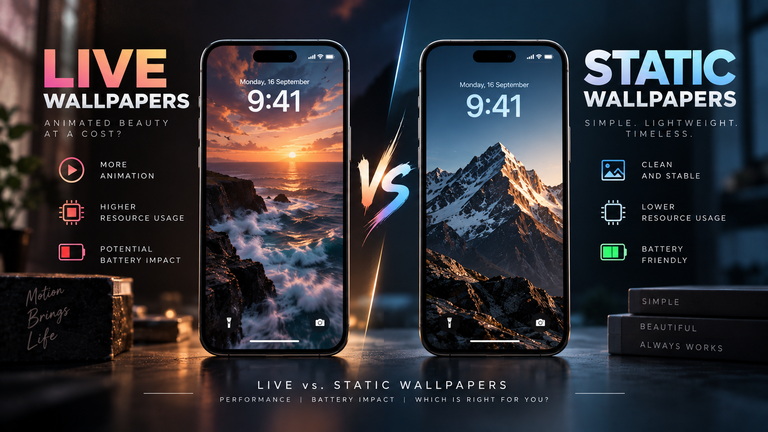
Second, the “Widget Block.” The Lock Screen operates in three distinct layers: Background, Clock, and Foreground. If you add any widgets beneath the clock, iOS instantly disables the Depth Effect. The operating system will not allow the foreground subject to overlap widgets, period. You must choose between having Lock Screen widgets or having a layered wallpaper; you cannot have both simultaneously.
The Format Flaw: Why Compression Ruins the Mask
One of the most common reasons custom wallpapers fail is invisible to the naked eye: file compression. When you download a standard image from social media or a web search, it is almost always heavily compressed.
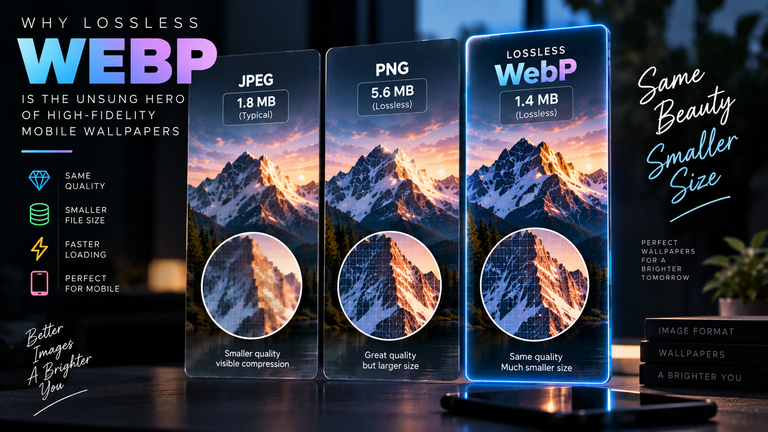
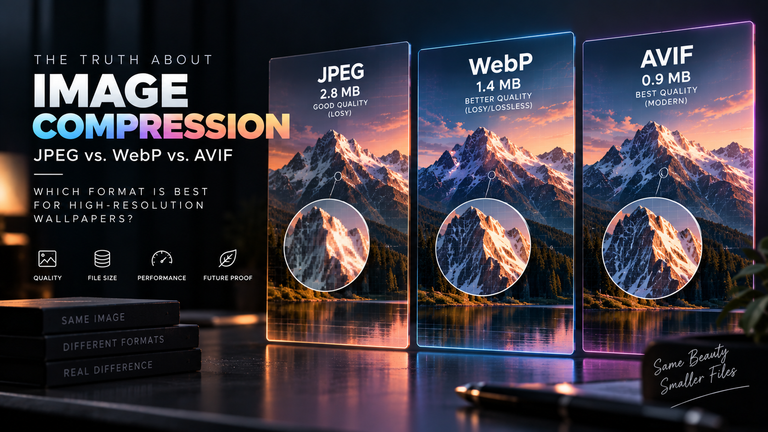
This ties directly into why JPEG compression destroys the clean edges needed for iOS Depth Effect. JPEG compression algorithms work by grouping similar pixels together into blocks to save space. While your eyes might not notice these “macroblocks,” the iPhone’s Neural Engine certainly does. When the AI tries to find a sharp edge to cut out the subject, it instead hits a blurry, blocky mess caused by the JPEG compression. Unable to define a hard edge, the segmentation fails.
To guarantee success, your source image must be as uncompressed as possible. PNG and high-bitrate HEIC files are vastly superior to JPEGs because they preserve the pixel-perfect sharpness required for flawless AI masking.
Step-by-Step: Preparing Your Image in Editing Software
If you have an image that refuses to trigger the Depth Effect, you can force it to work by manually preparing it in software like Photoshop, Affinity Photo, or even free mobile tools like Canva.
- Enhance the Contrast: Open the image and slightly darken the background or brighten the foreground subject. You need to create a distinct visual separation so the AI doesn’t get confused by similar colors.
- Sharpen the Edges: Apply a mild sharpening filter exclusively to the subject. Do not sharpen the background. A sharp foreground against a slightly blurred background artificially mimics a depth map.
- Adjust the Framing: Crop the image to a 9:16 vertical ratio (or 19.5:9 for modern iPhones). Position your main subject in the lower third of the frame. Leave plenty of “dead space” (like sky or a blank wall) in the upper third where the clock will sit.
- Export Without Compression: Export the final image as a PNG-24. Do not export it as a JPEG. AirDrop the PNG to your iPhone to avoid messaging apps compressing the file during transfer.
If you don’t want to do this manually, you can explore our Depth Effect Wallpapers collection, where every image has been pre-formatted, sharpened, and compositionally framed to guarantee it triggers the iOS masking algorithm instantly.
Frequently Asked Questions (FAQ)
Why did my Depth Effect suddenly stop working?
If a wallpaper previously worked but suddenly stopped, you likely added a Lock Screen widget. Even a single, small widget below the clock will globally disable the depth feature. Remove the widget to restore the effect.
Can I use the Depth Effect on older iPhones?
The feature requires an A12 Bionic chip or newer. This means the iPhone X and iPhone 8 are not supported, as they lack the Neural Engine hardware required to perform real-time subject segmentation. You must have an iPhone XS, XR, or newer model.
Does zooming in break the Depth Effect?
Yes. If you zoom in too far, the subject touches the edges of the screen, which can confuse the AI’s understanding of scale. Additionally, zooming in degrades the resolution, recreating the blurry edges that cause the masking to fail. Always try to find a higher-resolution source image rather than digitally zooming.