
There is a unique aesthetic appeal to using a still frame from a masterpiece film as your desktop wallpaper. The color grading, the lighting, and the precise framing of a shot curated by a legendary cinematographer can elevate your entire workspace. However, if you simply Google “Blade Runner 2049 4K Wallpaper” and save a JPEG from an image board, you are getting a heavily compressed, degraded version of the original art. To capture a true, pixel-perfect cinematic wallpaper, you must learn how to extract uncompressed PNG frames directly from a 4K “Remux” movie file.
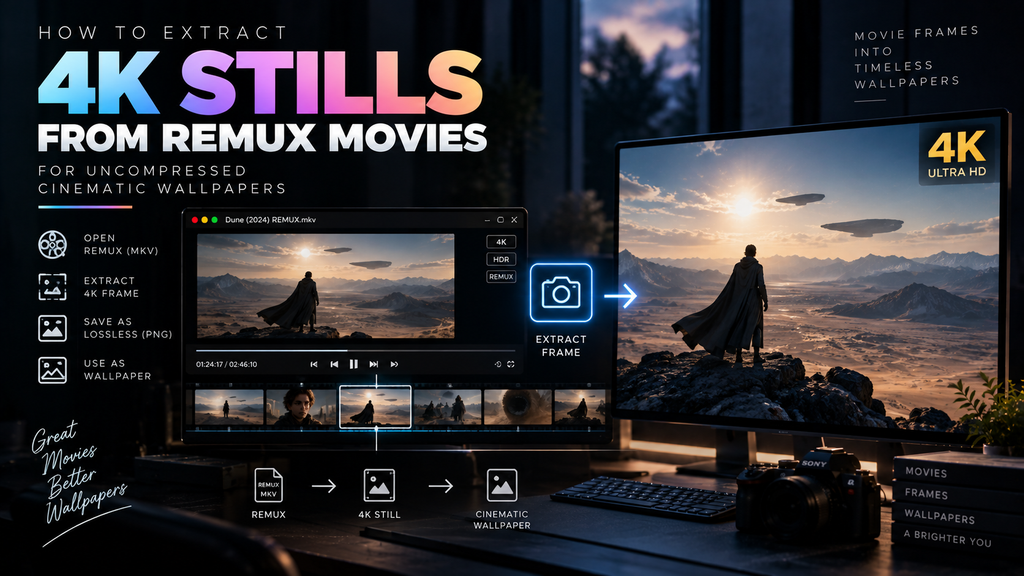
Table of Contents
- The Source Material: Why a Remux is Mandatory
- The Visual Method: VLC Media Player
- The Professional Method: FFmpeg Command Line
- Handling Letterboxing and Resolution
- Frequently Asked Questions (FAQ)
The Source Material: Why a Remux is Mandatory
If you try to screenshot a 4K movie playing on Netflix or a standard “Web-DL” file, you will be disappointed by the results. Streaming services compress video files heavily to save bandwidth. While the video is technically 3840×2160 pixels, the “bitrate” (the amount of data processed per second) is drastically lowered. This introduces blocky artifacts in dark shadows and ruins the grain structure of the film.
A “Remux” is a digital rip of a 4K UHD Blu-ray disc where the audio and video streams are extracted but *not compressed or altered in any way*. A 4K Remux file can easily exceed 60GB to 80GB in size, boasting bitrates of 60 to 100 Mbps. When you extract a single frame from a Remux MKV file, you are pulling the exact, uncompressed raw data authored by the film studio.
The Visual Method: VLC Media Player
The easiest way to extract a still is using VLC Media Player, but you must configure it correctly first; otherwise, it will default to saving highly compressed JPEGs.
- Open VLC and navigate to Tools > Preferences (or VLC > Preferences on macOS).
- Click on the Video tab.
- Scroll down to the Video Snapshots section.
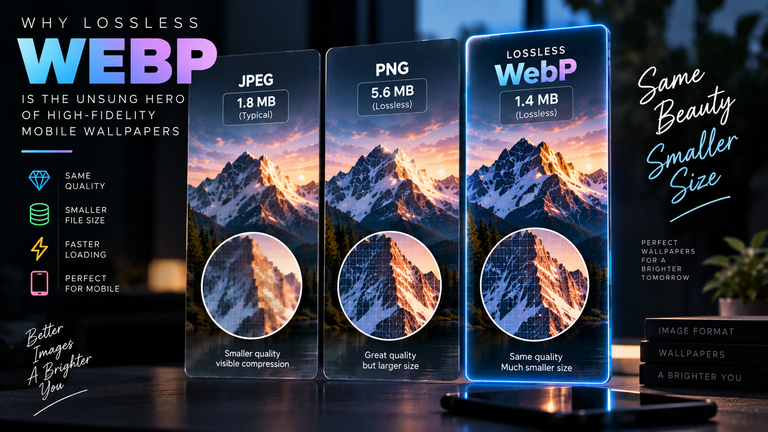
- Change the Format from JPEG to PNG. This guarantees a lossless extraction.
- Select your preferred destination folder, then click Save.
Now, open your 4K Remux MKV file. Play the film until you reach the scene you want. Pause the video. To ensure you land on the exact perfect frame, use the ‘E’ key on your keyboard to step forward frame-by-frame. Once you have the perfect shot, press Shift + S (Windows) or Command + Alt + S (Mac) to capture the uncompressed PNG.
The Professional Method: FFmpeg Command Line
If you want mathematical precision without relying on a graphical video player, FFmpeg is the industry-standard command-line tool for video processing. It allows you to extract a frame at a specific millisecond without loading the massive 80GB video file into memory.
First, ensure FFmpeg is installed on your system. Open your Terminal or Command Prompt and use the following syntax:
ffmpeg -ss 01:24:15.500 -i "movie.mkv" -frames:v 1 output.png
Here is how the command works:
-ss 01:24:15.500: This tells FFmpeg to fast-forward exactly 1 hour, 24 minutes, 15 seconds, and 500 milliseconds into the film. (Placing this *before* the input file ensures lightning-fast seeking).-i "movie.mkv": This specifies your source Remux file.-frames:v 1: This tells the program to only extract a single video frame.output.png: This saves the file as a lossless PNG in your current directory.
Handling Letterboxing and Resolution
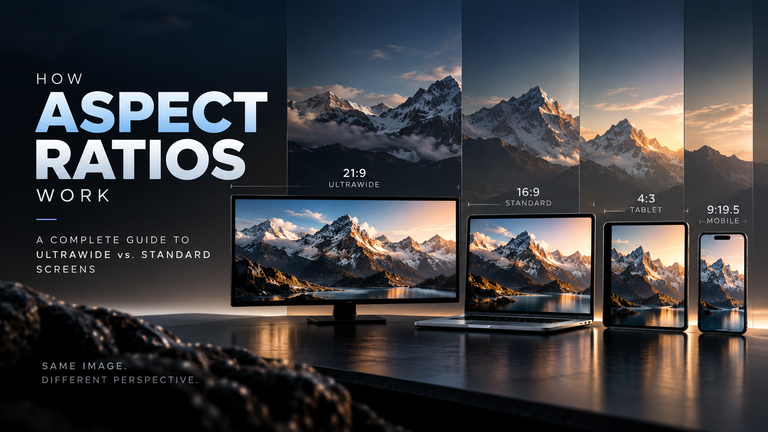
Almost all cinematic films are shot in extremely wide aspect ratios (like 2.35:1 or 2.39:1). When you extract a 4K frame, the resulting image will be 3840×2160 pixels, but it will have massive black bars at the top and bottom of the frame.
If you set this directly as a desktop wallpaper on a standard 16:9 monitor, the operating system will leave the black bars in place. If you are dealing with cinematic letterboxing (black bars) on an ultrawide monitor (21:9), you must crop the image in a photo editor first to ensure it fills your screen correctly without stretching.
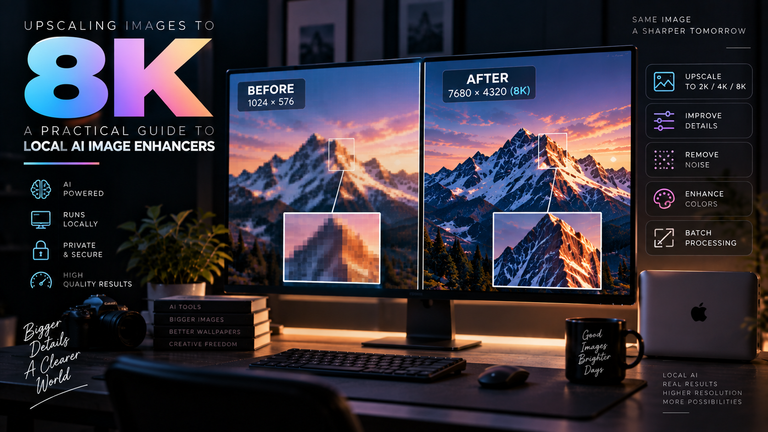
Alternatively, if you only have access to a standard 1080p Blu-ray Remux but you own a 4K monitor, do not simply stretch the 1080p still. Instead, extract the 1080p PNG and explore running cinematic 1080p stills through a local AI upscaler. The AI will analyze the film grain and edges, intelligently generating the missing pixels to create a crisp 4K or 8K wallpaper that looks vastly superior to standard monitor stretching.
Frequently Asked Questions (FAQ)
Why do my HDR 4K stills look completely washed out?
Most 4K Remux files are encoded in HDR (High Dynamic Range) using the BT.2020 color space. When you extract a frame, the PNG cannot easily retain that HDR metadata. If you view it on a standard SDR (Standard Dynamic Range) monitor, the colors will look gray, dull, and washed out. You must use a tool that performs “Tone Mapping” (converting the HDR colors back into SDR colors) during extraction, which requires advanced FFmpeg filters.
Can I extract a Live Photo or video loop from a Remux?
Yes. Instead of using -frames:v 1 in FFmpeg, you can extract a 5-second clip and encode it as a high-bitrate MP4 or WebM file. However, you must be mindful of the resulting file size if you intend to use it as an active Live Wallpaper on a smartphone.
Is it legal to extract frames from a movie?
Extracting stills from a movie you legally purchased (such as ripping a Blu-ray you own) for personal use as a desktop wallpaper falls under standard fair use and format-shifting doctrines in most jurisdictions. Sharing those raw files commercially is where copyright infringement occurs.